Installation
Sound-Stop 5 – Material Installation Guide
Sound-Stop 5 is an easy to install Polymer that can significantly reduce unwanted noise in your home, media room, cinema and ceilings.
No special skills are required installing Sound-Stop 5, attention to detail when sealing is the most important factor before installing the wall lining.
Product use
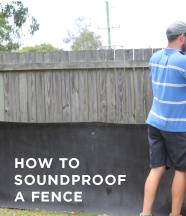
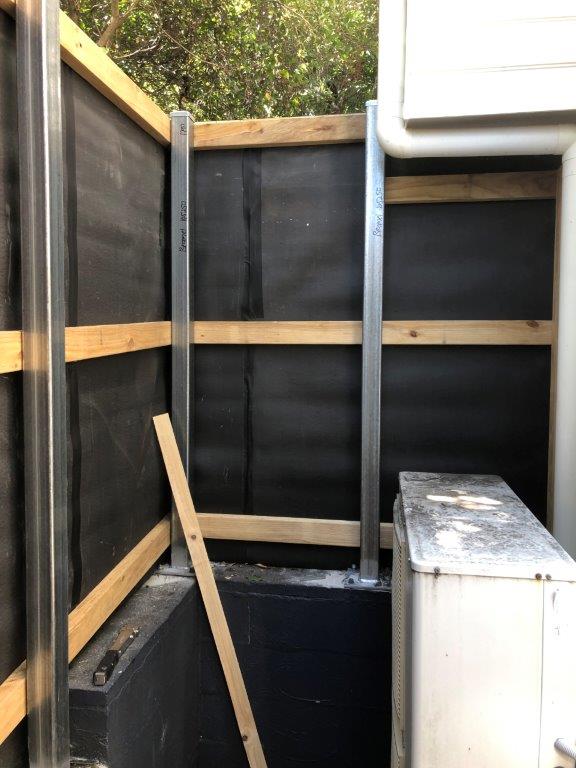
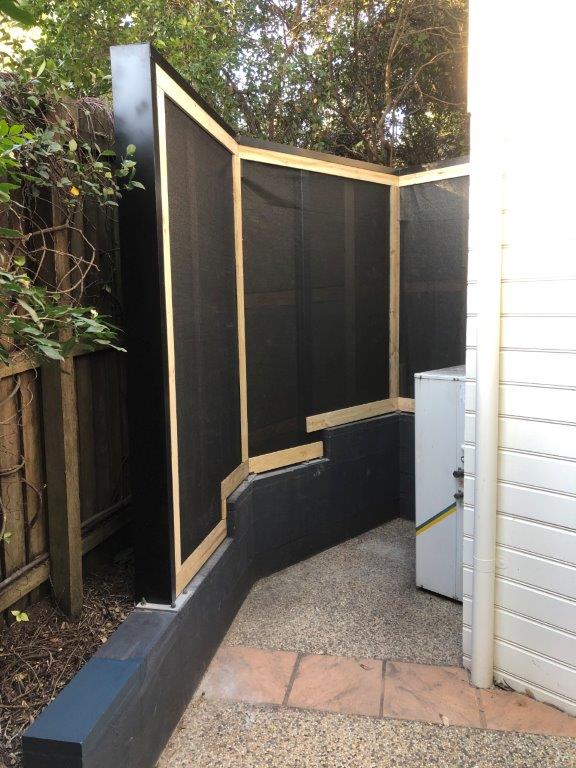
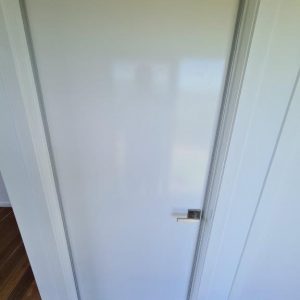
Sound Stop 5 is one of the top sound isolation products. It is considered the best solution for a number of sound issues. Providing more cost-effective alternatives in walls, ceilings, and floors than many layers of plasterboard. Sound Stop 5 MLV is typically most useful in areas where a wall or ceiling cannot be constructed with many layers of plasterboard. Applications include covers for doors, windows, and other openings, as well as around pipes, duct, automobiles and hanging from exterior fences.
Installation
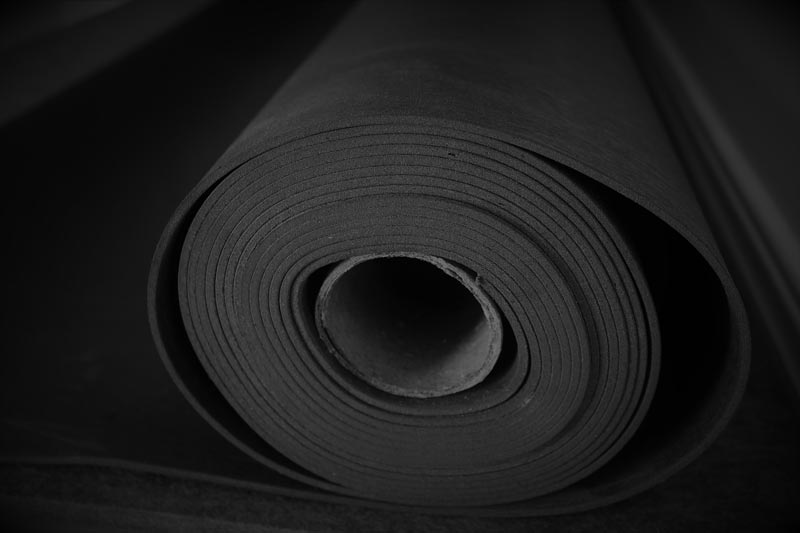
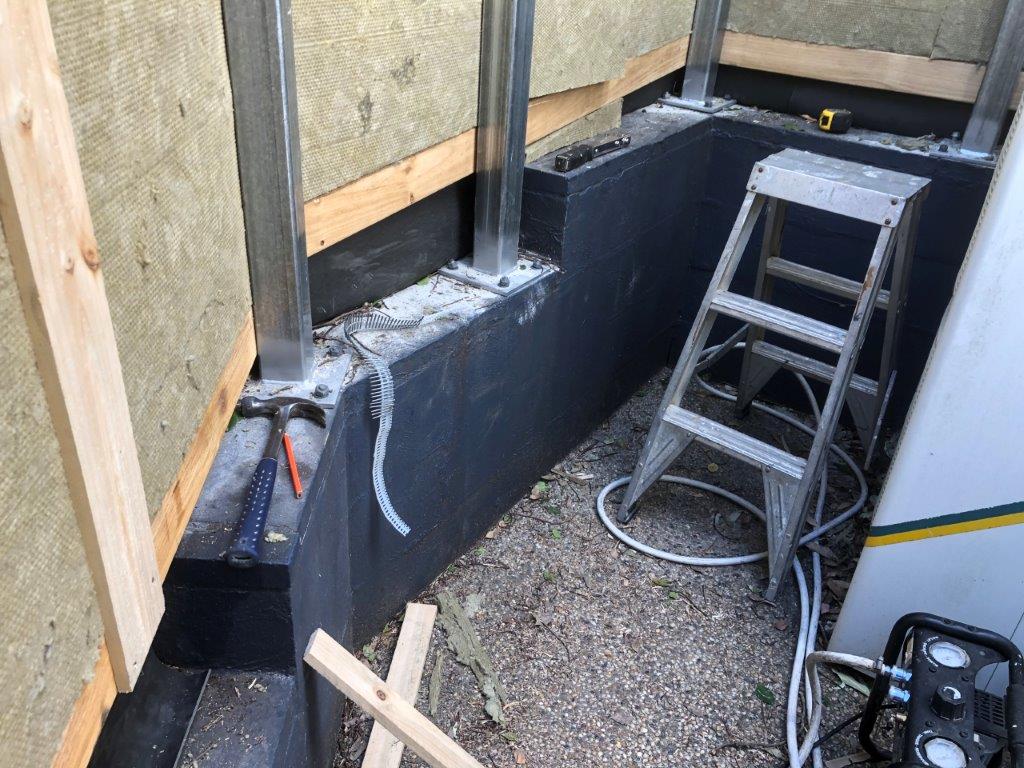
Sound-Stop 5 is very heavy. It comes in rolls 1.2m wide and 4 meters long. It must be clean and dry when installed.
To prepare Sound-Stop 5 for installation. Unroll and square the ends with a square and Stanley knife. Use the square when cutting Sound-Stop 5. This will help in getting a tight finish and less gaps when sealing the joins. It is advisable to now roll out in the opposite direction when installing on the wall to avoid curling.
Sound-Stop 5 Installation Overview
Before you begin, note all services in the wall that will be covered. Mark their locations on the floor in chalk with measurements so that none will be missed and cut out openings immediately after each roll of Sound-stop 5 is fixed to the wall.
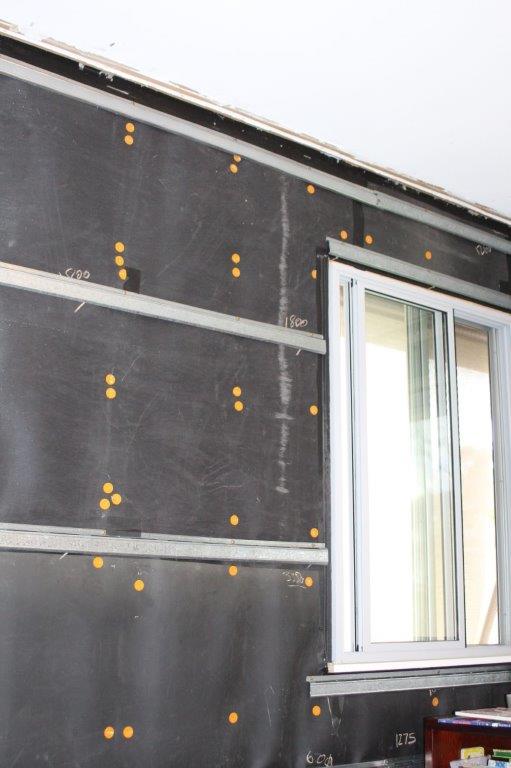
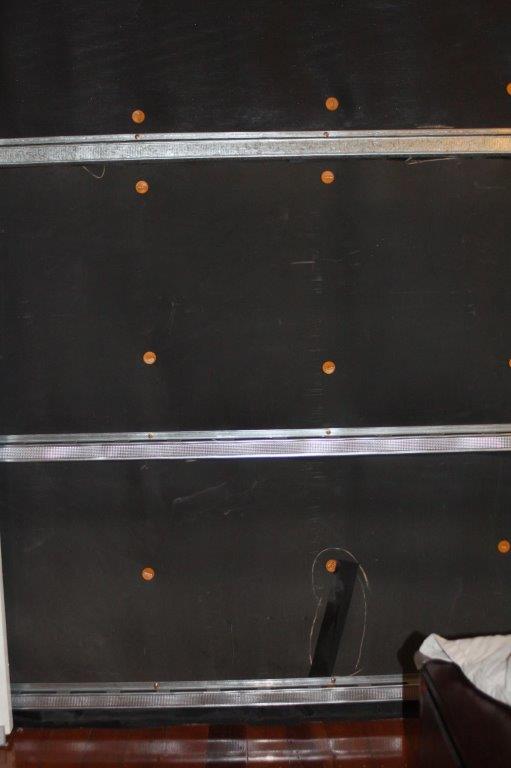
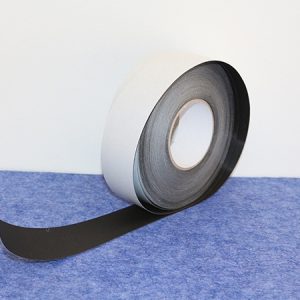
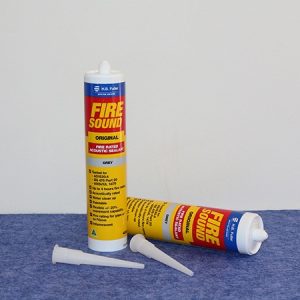
When Sound-Stop 5 is installed it should be airtight as much as possible; if air can pass through so can sound, so sealing is a critical step for a proper installation. Using Super Grip tape and Fuller Fire sound Acoustical Sealant, seal all perimeter edges, joins, electrical boxes, access points and the edges at window and door openings.
Windows can be the weakest link in the wall system. Look at using an addon double glazing system which will significantly reduce noise coming through the Window.
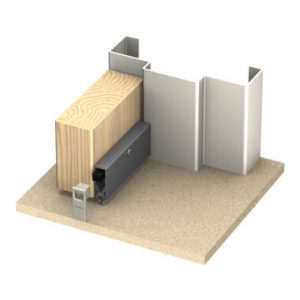
Wherever possible, Sound-Stop 5 should be installed on the noise side of the wall assembly. This minimises sound energy that can be converted into mechanical noise.
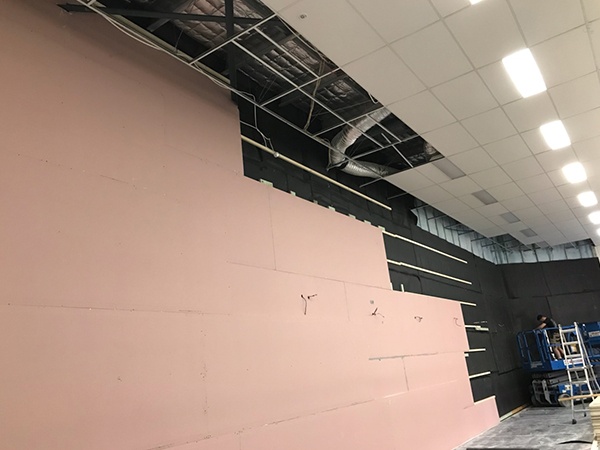
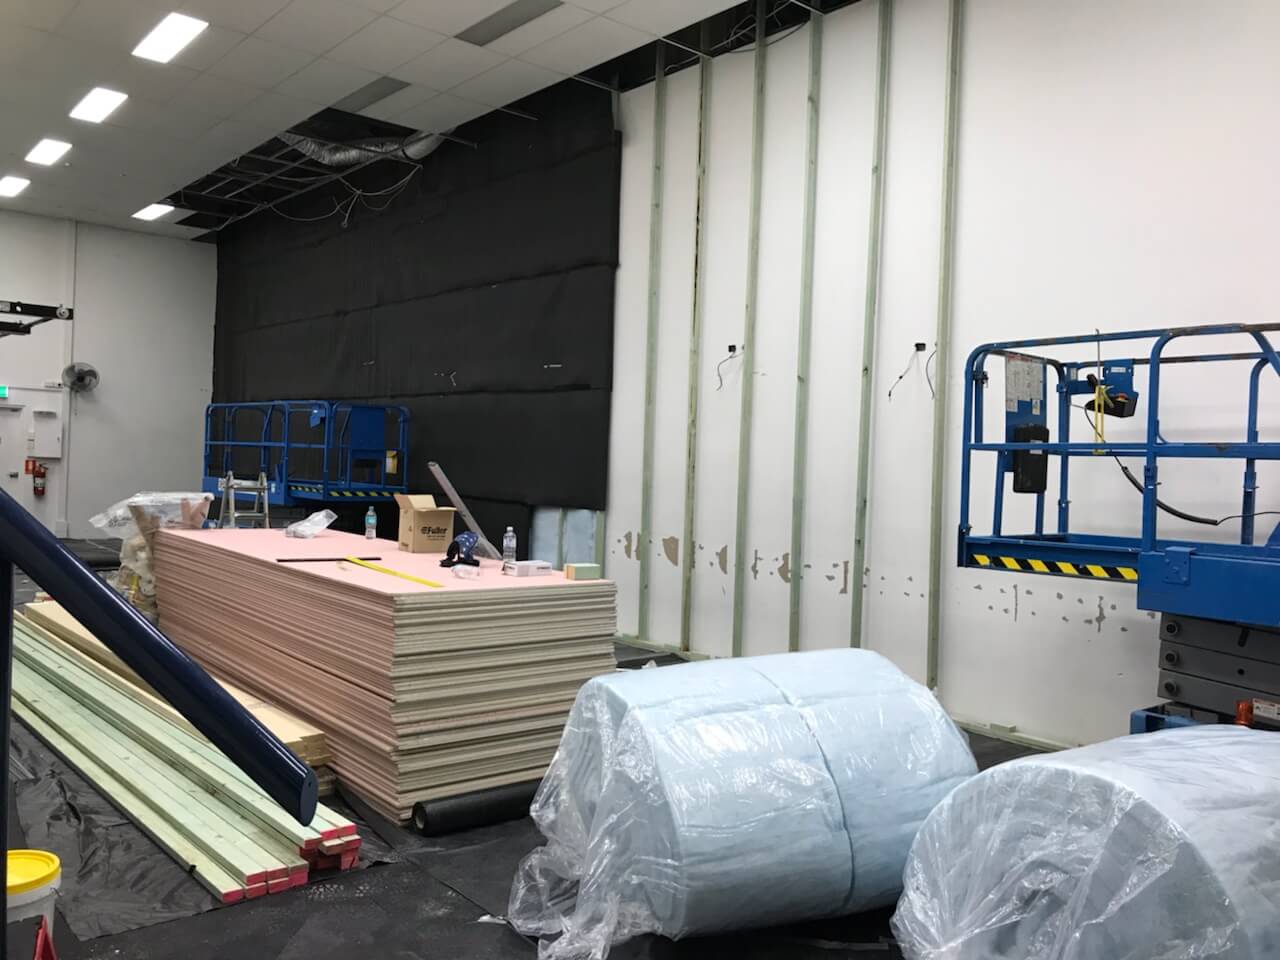
Inspect the final install and check for any gaps. You made need to add some acoustical sealant in places where you have missed. Once happy with the installation you may proceed with the install of the plasterboard. Keep pan head screws/wafer head screws or staples as flush as possible. Ideally 16mm fyrcheck plaster board is recommended when possible.
Wall Installation Notes
You can butt join or overlap the seams. If you overlap, there will be a 3mm rise in the plasterboard. No fasteners are required on the overlap. Overlap at least 40mm to assure adequate sealing and apply Fuller Fire Sound Sealant within the overlap. Both methods require you to seal the seams with Super Grip tape and Fuller Fire Sound Sealant.
When installing on the outside perimeter wall vapour flow is required. To provide vapor flow seams must be overlapped, as a recommendation 70mm would be fine. Do not tape the seam or apply acoustic sealant. No fasteners are required on this overlap.
When the plasterboard is installed the edges should not touch. Leave a 3-4mm gap around the entire perimeter wall and use fuller fire sound in the gaps. This will help decouple the surfaces minimising the mechanical transmission sound. Finish the plasterboard as normal.
When using resilient channels, attach the channels at 600mm centres, if using 16mm plasterboard. Use screws long enough to attach the plasterboard to the resilient channel and not penetrate the material.
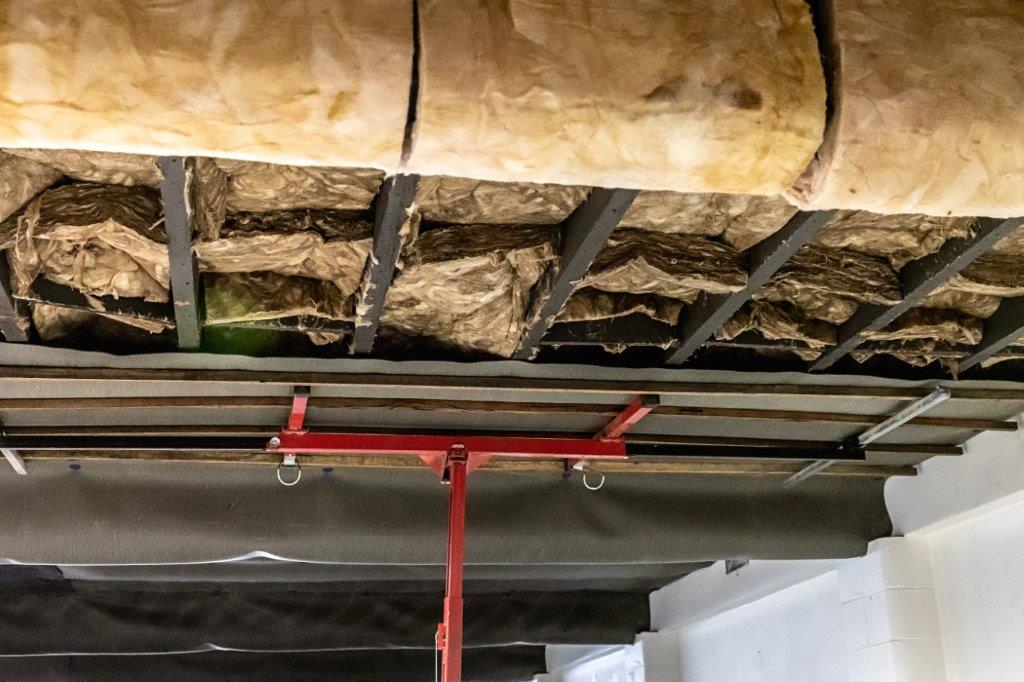
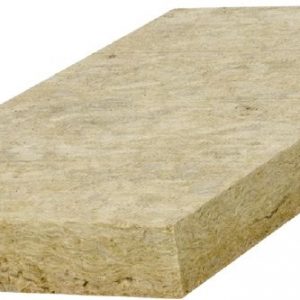
A high-density insulation should always be used in the cavity. We recommend using insulation that is at least 32Kg per cubic meter. On the top end you could use Fibertex 650 insulation. This is very heavy and a dense rockwool insulation. Ideal for retrofit systems and when noise needs to be controlled aggressively.
Wood Stud Wall Installation
Ideally a cap stapler is best and fastest to install the material. The Bostick cap stapler can be rented from us which comes with staples and an automatic cap feeder. The air compressor is not provided.
Start at the bottom comer of the wall. Square the end of Sound-Stop 5. Fasten around 4 fasteners per stud. Do not pull tight. A couple of mm of play between each stud so it can flex in the wall. When the sound waves hit the material, it will flex in the wall and dissipate the sound energy into heat. Overlap the second layer around 40mm. Add the acoustical sealant and tape seam.
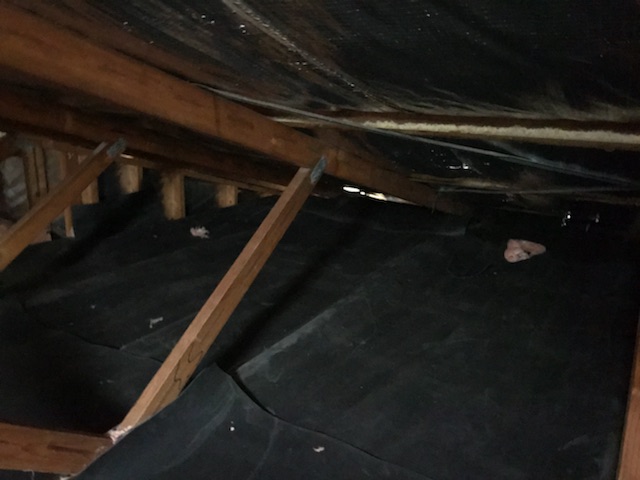
Wood Floor Joist Installation
Sound-Stop 5 is very effective when it is applied over the top of the wood joists before the subfloor is installed. Use polyurethane adhesive available at most hardware stores to attach Sound-Stop 5 to the joist. A couple of staples can be used to tack the Sound-Stop 5 to the joist. This will help to hold the material in place until the adhesive goes off. The material can be butt joined or over lapped, but each overlap must be cut back on the joist to make a no rise seem, allowing the subfloor to be installed flat. Seal all seams and joins with acoustical sealant and tape with SuperGrip tape. Air tightness is the aim of all installs.
Use polyurethane adhesive available at most hardware stores to install the subfloor. If nails or screws are used the floor you can acoustically short circuit the system. If screws are used use the bare minimum for your install. Always try to decouple walls from subfloors. Fill the gaps with acoustical sealant. This will help in reducing flanking pats.
Flanking paths are when the sound passes around, over the top or under the primary partition separating two spaces.
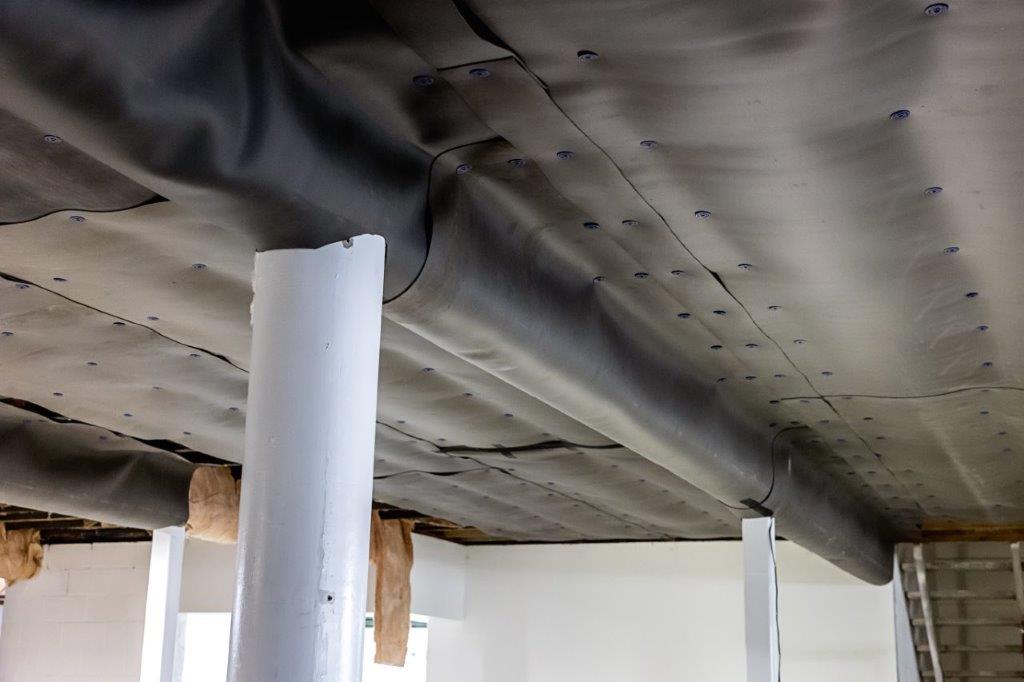
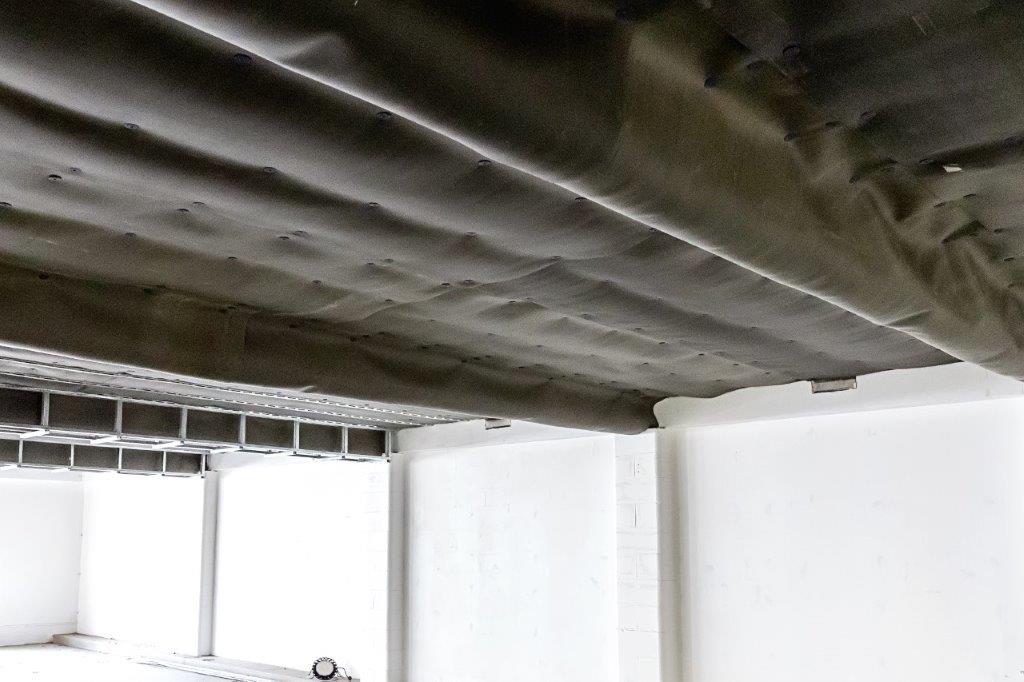
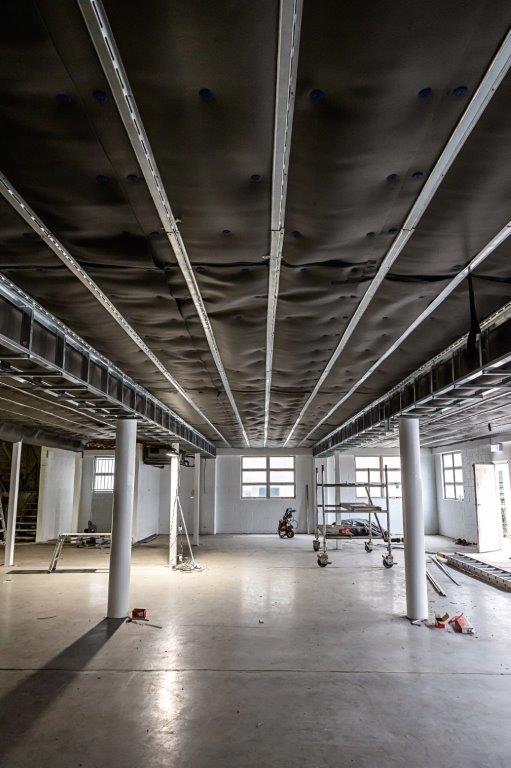
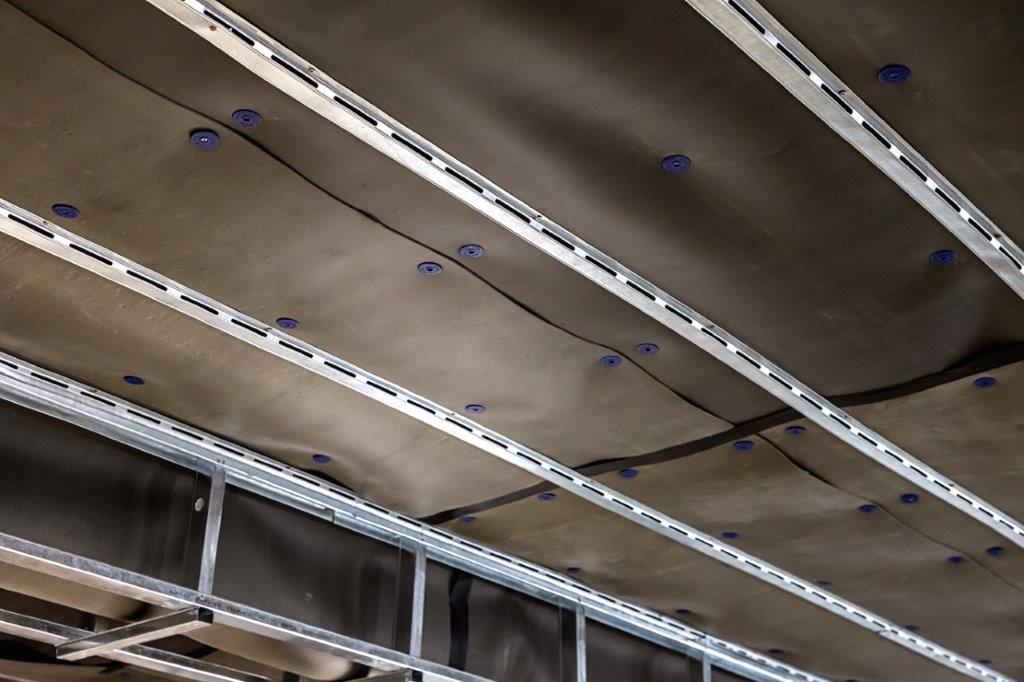
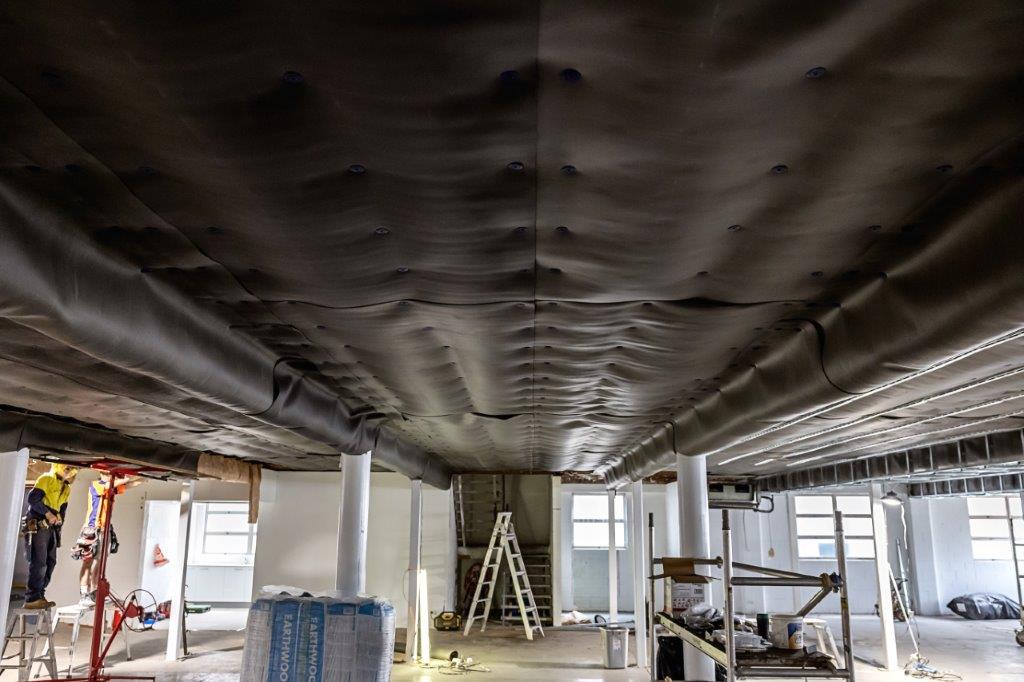
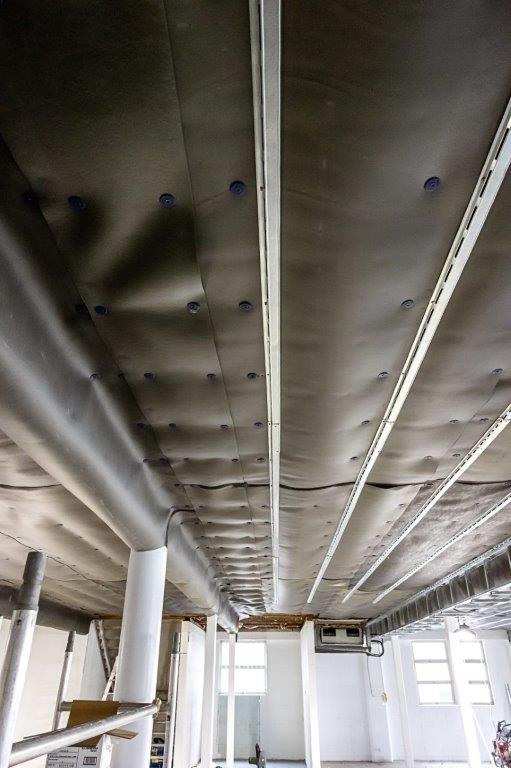
Ceiling Installation
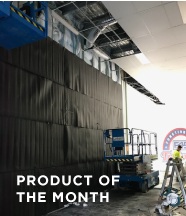
Sound-Stop 5 Isolation Material is 5Kg per sq meter, it is recommended that a 2 – 3 persons be used for installation. Any penetrations for lighting, etc must be sealed around the edges with Acoustical Sound Sealant and SuperGrip tape.
Fibertex Rockwool is an excellent insulation that can be used to upgrade the acoustic assembly of the wall.
Wood Joist Ceilings
When installing Sound-Stop 5 overhead, it is necessary to support the material in place for fastening.
Many installers use a Plasterboard lifter to lift the material in place. The material can then be pushed into position with one’s hand and stapled onto the joist. A resilient channel can be placed on top of the Sound-Stop 5 to decouple the plasterboard ceiling from transmission of mechanical noise.
Once Sound-Stop 5 is in place, install ceiling as designed. A resilient channel or resilient clip system is recommended as it provides the greatest mechanical isolation from the floor assembly.
When using a resilient channel system screws should only be long enough to penetrate the plasterboard and frame and not the Sound-Stop 5.
Keep a gap of 3 – 4mm at all perimeter joins between the wall and ceiling and fill with Fuller Fire Sound. The will reduce flanking sound coming down the walls.